 STC GENERATOR
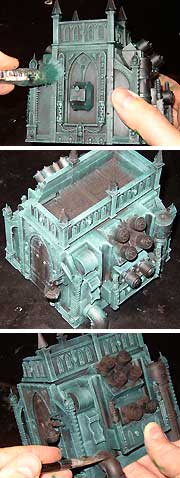
Now base coat the main colors by drybrushing them. (For more information on drybrushing, see the STC Water Tower article).
Drybrush everything but the doors, rooftop floor, coils, and pipes in
a nice distinctive color. I mixed up a custom dark Blue-green color
for mine.
Then use a lighter drybrush pass with light grey for highlights.
Drybrush the spikes, coils and all the pipes with dark brown.
Next, pick out some of the detail in another color just to break up
the model a bit visually. I painted the drums and the vent box with
dark blue.
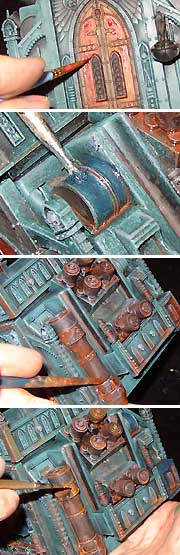
Now for the washes. (You can read more about washes in the STC Water Tower how-to pages).
I like to use a rust color for the main wash, working from the top down
and brushing streaks down the sides here and there. Be sure to hit
the pipes, coils, and rivets heavily. Using care, you can control
your streaks with a fingertip or gentle blowing.
Next, switch to a light brown and hit the same areas again, but more
sparingly this time. As a guide, rust can range from near-black to
bright orange- dark rust is old rust, light rust is the most fresh.
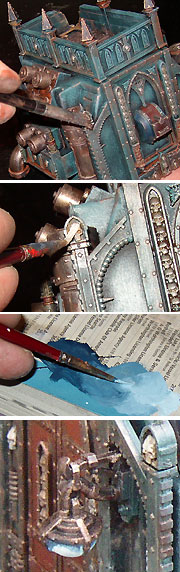
If you want to pick out any of the skulls in a bone color, paint them
light brown and then drybrush them with light grey or white.
To paint the light, I mixed up a blend of blues from dark blue up to
near-white.
I base coated the light with the dark blue first, then worked my way down to the point of the dome with the lightest colors.