VOTOMS
MINIATURE FIGURES PAGE

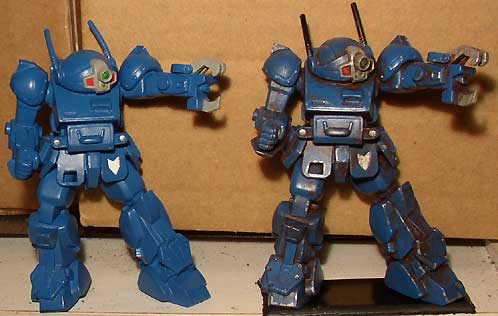
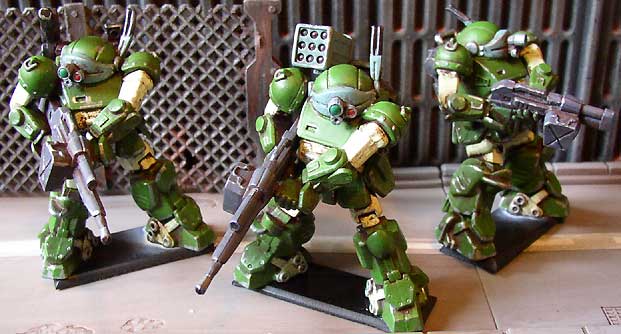
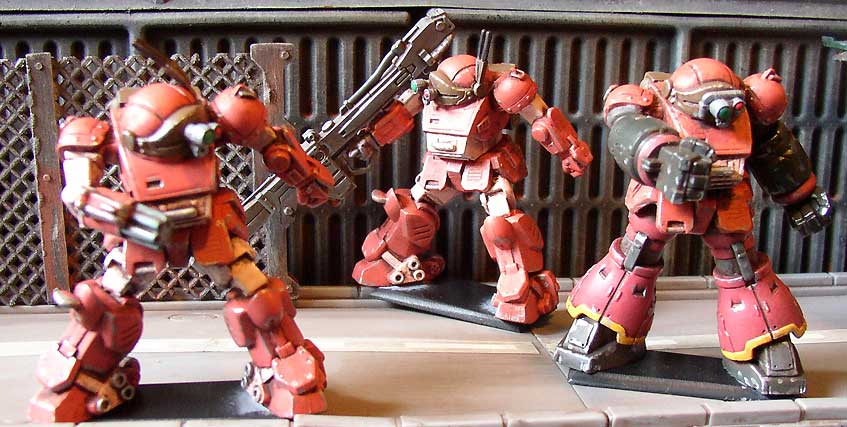
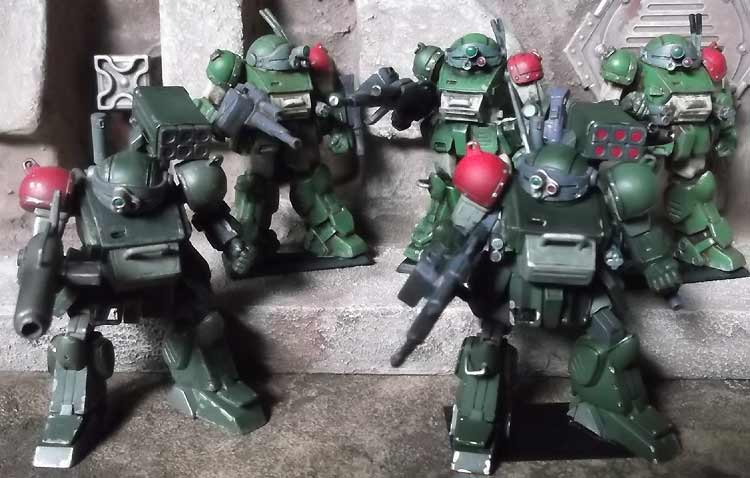
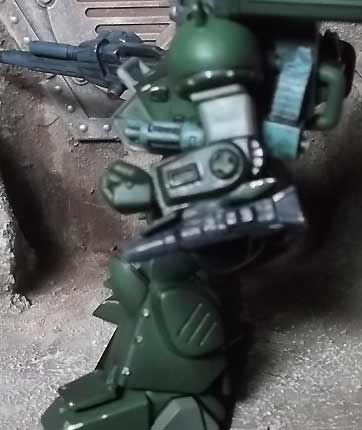
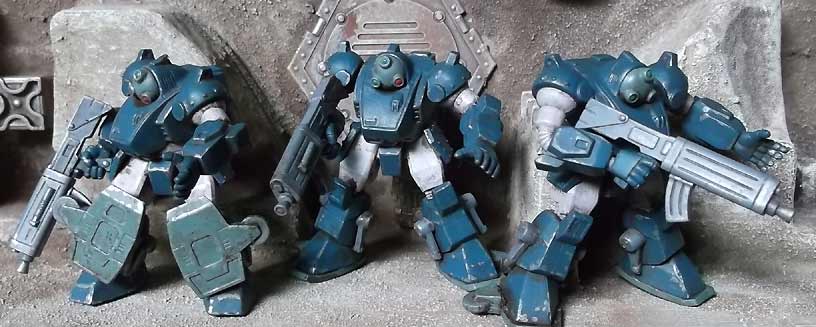
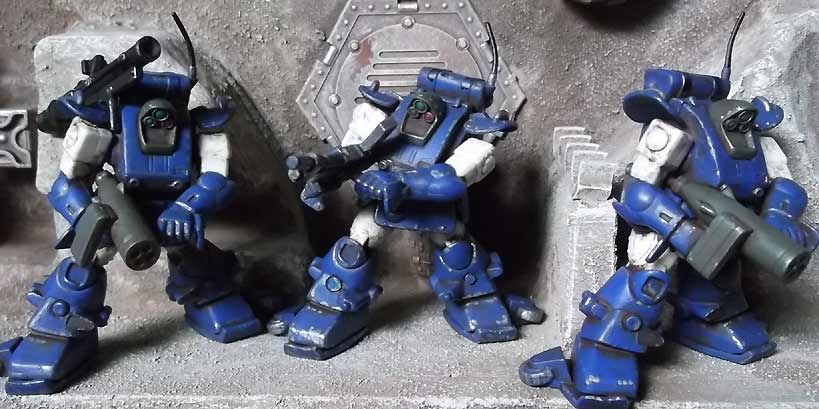
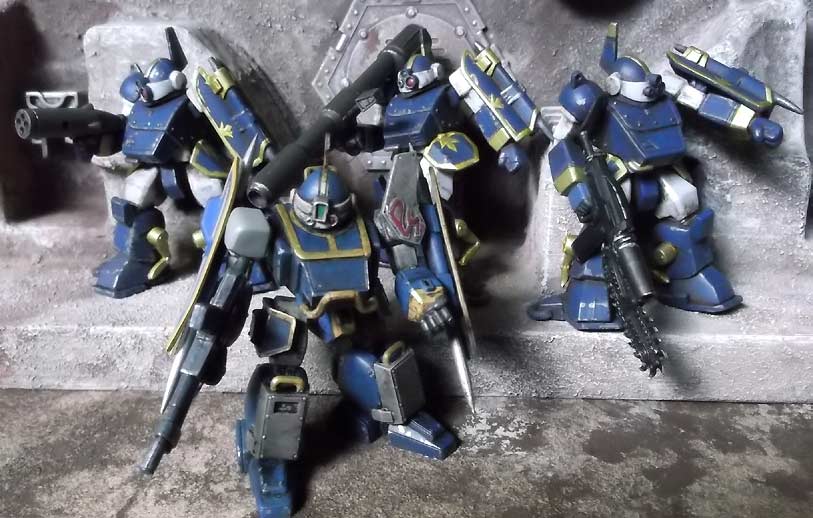
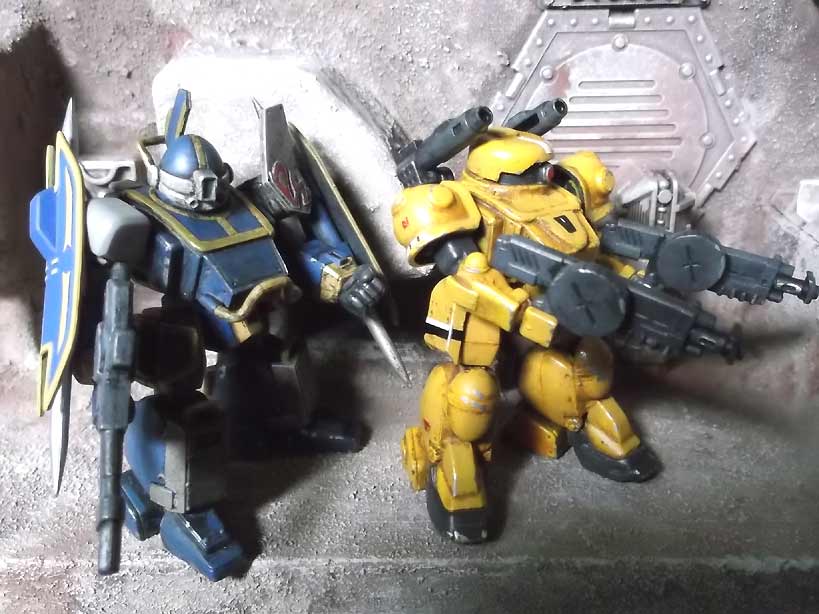
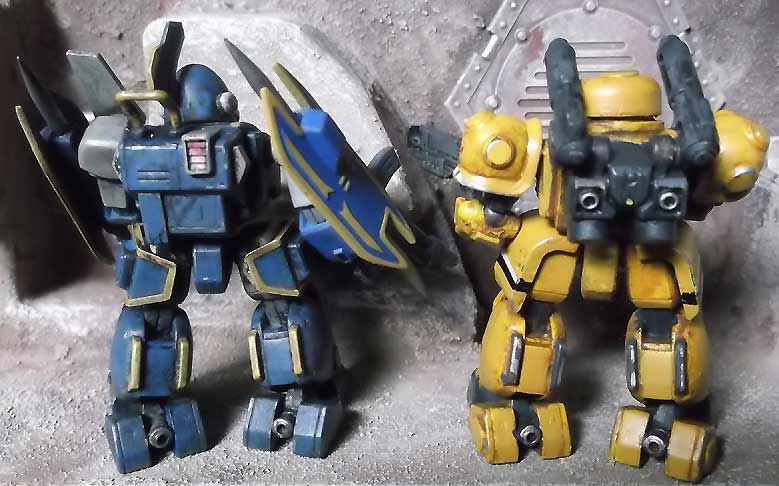
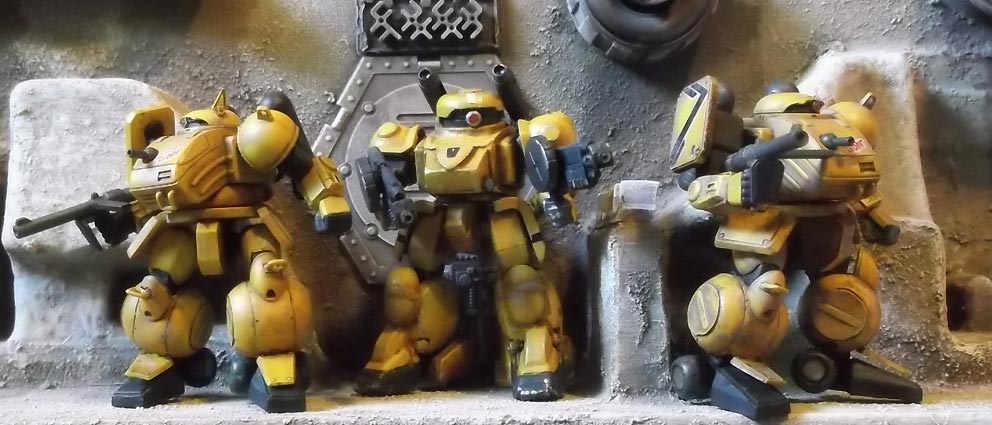
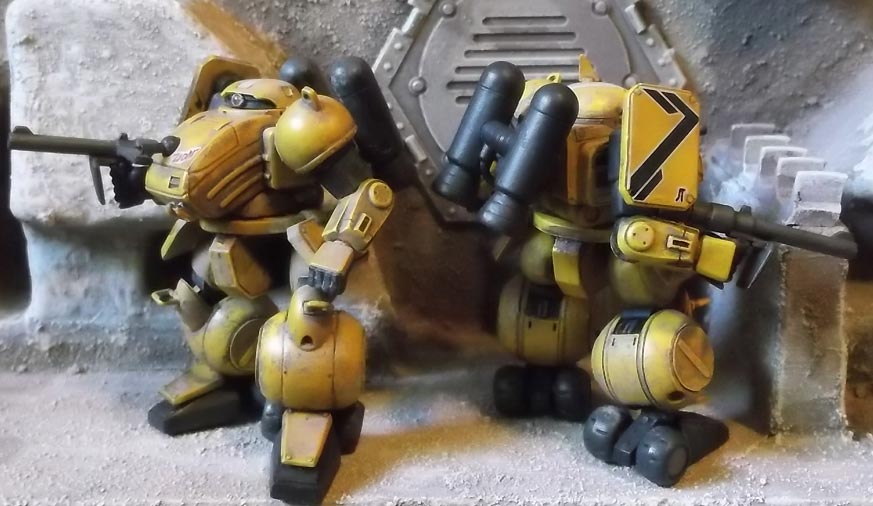
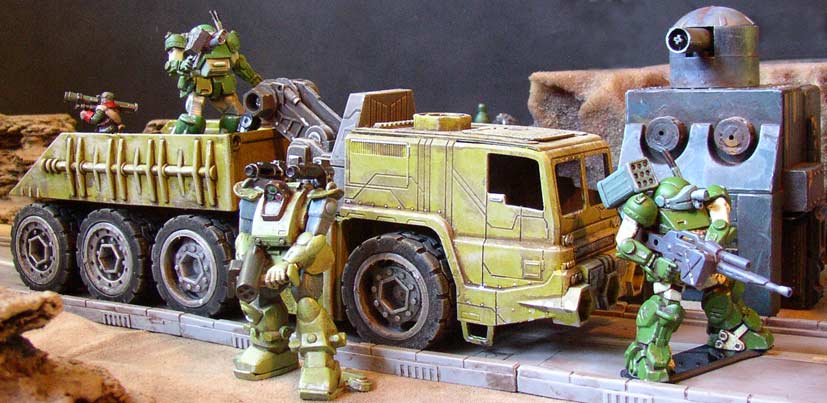
Following is a guide to the models we're using for our Votoms RPG campaign.  We use a mixture of Gashapon and One Coin figures (more info on those below), which are a good size because they go well with my existing terrain and minis (mostly 40K or scratch build).  We also make use of converted toys for our vehicles, providing a nice variety of enemies from the lowliest foot soldier to the mightiest land battleship!  For more information on the campaign itself, visit the Votoms Campaign Page.

GASHAPON FIGURES
Yes, there are Gashapon figures for Votoms!  They released two series, which you can still find on Ebay.  They are "non-scale", but they look pretty close to 1/60 scale to me.  Not a bad size for miniature gaming!  Although Gashapon figures are affordable, they aren't the best looking things ever- at least, not without a little bit of work.

ASSEMBLY:The figure on the left is a stock, out-of-the-package Strikedog from series 2.  If any of the weapons or parts are bent (such as the antennas here), you can straighten them out by dropping them in super hot water.  Then just bend them back in shape and let them cool.  You can glue your figures together with CA (superglue), which keeps their parts from falling off while you're playing with them.  Try to find the best pose possible before gluing them in place.  You can even glue them to a base for added stability.

PAINTING: First off, I need to make one thing clear: you CAN'T use enamel paints on a PVC Gashapon figure!  It will never dry, staying sticky forever (or until the paint rubs off on your hands).   It is actually surprisingly easy to achieve the gritty, shaded look seen above (right).  Using dark brown craft paint and a soft-bristled house painting brush, just jam dark brown paint all over the model, being sure to get in the crevices!  Then, BEFORE the paint starts to dry, wipe off the excess paint with a paper towel.  You can also get a light dirty effect by dabbing the model with the paper towel, removing most (but not all) of the paint from the high surfaces.  This also helps dull down the plastic so it doesn't look so rubbery.   Once the brown paint is dry, you can pick out the edges of the model with a silver Sharpie marker.  This gives it the look of chipped paint- now instead of a hunk of rubbery plastic, your figure looks like a gritty, heavy metal monster!

CONVERSIONS

The standard Scopedog from Series one just comes with a GAT-22 machine gun.  I provided these variants with backpacks taken from some old Gundam figures, one of which included an over-the-shoulder cannon (left).  The center figure was endowed with a rocket pod taken from a Red Shoulder Custom figure (more on that below).  The rightmost figure was given a GAT-22C "short" machine gun, taken from a Marshydog figure.  This conversion was a bit tricky, since the left hand was also taken from the Marshydog figure, and was just an open hand.  It had to be bent and glued into position under the gun since the original hand didn't line up with the new gun.


These figures are variants of Brutishdog figure from the first series.  The figure on the left is a stock Brutishdog, which has a gatling gun instead of a right arm.  The right figure is dubbed the BOXING DOG, a battling AT optimized for melee combat.  The arms and legs are taken from an S.O.G. Gundam Zogock, because the rest of the model looked rediculous, and just spliced them onto a Brutishdog.    Conversions like this are easy with PVC figures- the plastic is soft enough to cut with a hobby knife, and it superglues well.  The middle figure boasts a large cannon, originally a beam bazooka from an S.O.G. Gundam Dom figure.  The look of it reminded me of the GAT-35 Long Gun (one of the few energy weapons you'll see in Votoms).  The right arm is just a spare left arm leftover from the Boxing Dog conversion, turned around the other way. 

    
The Red Shoulder Custom from series 2 comes with a GAT-22, in additon to a plethora of other mounted weapons.  For the one on the right, I made a flamethrower, using a backpack from a Marshydog and an arm mounted gun from an old Gundam collectible figure I had lying around, with the hoses attached to it.  Burn entire villages down in just minutes!

MORE CONVERSIONS COMING SOON...

VEHICLES

This AT trailer isn't an actual model of the AT Carry from the series, but it sure looks good!  I started with a Matchbox Mega-Rigs toy (I think it was the Garbage Truck one), and mix and matched parts until I had this layout.  The cab had an open top originally, so I closed that up with some sheet plastic and model parts.  The plastic from the toy is hard to paint- I had to lightly sand the entire toy down, then prime it with grey enamel primer.  Then I used some olive green acrylic paint to put the base color on (I would have used enamels because they coat better, but I didn't have any the right color at the time).  Next was a dark brown enamel wash for grunge and to get the panel lines to pop.  Then I drybrushed with tan acrylic paint to get that faded look, and finished it off with some silver sharpie "chipped paint" highlights.  The tires were lightly sanded, then drybrushed with tan.  You can see another shot of it on the Campaign Page.

Back to Necromundicon